Introduction:
Elevate the aesthetic appeal and protect your wooden fence with professional staining and sealing. This comprehensive guide delves into the intricacies of fence staining, equipping homeowners with the knowledge to transform their outdoor spaces. From understanding the benefits and exploring various stain types to preparing your fence and maintaining long-lasting protection, we cover every step. Whether aiming to enhance natural wood tones or achieve a vibrant new look, our detailed sections ensure your fence not only looks stunning but also stands the test of time against the elements.
- Understanding Fence Staining: Benefits and Types
- Choosing the Right Stain: Color, Finish, and Application
- Preparing Your Wooden Fence for Staining
- Step-by-Step Guide to Fence Staining and Sealing
- Maintenance Tips for Long-Lasting Fence Protection
Understanding Fence Staining: Benefits and Types
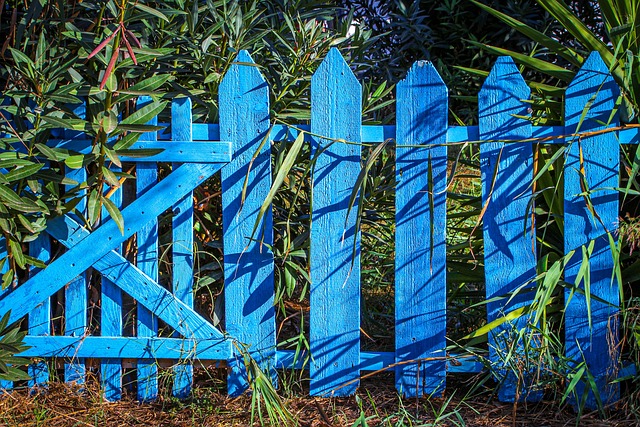
Fence staining is an excellent way to enhance the beauty and longevity of your wooden fence. It involves applying a pigmented sealer or finish to protect the wood from the elements, while also adding color and style. The benefits are twofold: first, it preserves the fence by shielding it from rot, mold, and UV damage; second, it transforms the overall look, allowing you to choose from a range of colors to match your home’s aesthetic or create a unique design.
There are several types of fence staining options available. Water-based stains are environmentally friendly, easy to apply, and offer good color retention. Oil-based stains, though more labor-intensive, provide deeper, richer colors and superior protection against moisture. Semi-transparent finishes let some light pass through, highlighting the natural grain of the wood, while solid colors completely cover it, offering complete customization for your fence’s appearance.
Choosing the Right Stain: Color, Finish, and Application
When it comes to choosing the right stain for your wooden fence, color is a primary consideration. Different stains offer various shades, from rich, deep tones to light, natural hues. Consider the overall aesthetic you desire—a subtle blend with the wood’s natural grain or a bold, contrasting color. Additionally, finishes play a crucial role in protection and appearance. Water-based stains are popular for their low odor and quick drying time, while oil-based options provide deeper penetration and longer-lasting protection.
Application method is another factor to keep in mind. Some stains can be applied with a brush or roller, offering better control but requiring more effort. Spraying provides a faster, more even finish but may need additional equipment. Test different application techniques to find what works best for your fence’s size and your comfort level.
Preparing Your Wooden Fence for Staining
Before applying any stain or sealer, it’s crucial to prepare your wooden fence thoroughly. Start by sweeping and cleaning the fence to remove any dirt, debris, or loose wood particles. Use a pressure washer if necessary, but be mindful of the fence’s material and age to avoid damage. Ensure the surface is dry before proceeding.
Next, inspect the fence for any cracks, chips, or rot. Repair these issues using appropriate wooden repairs like putty or filler, then sand the repaired areas smoothly. Fill any nail holes or screw heads with wood filler and sand again until the surface is even. This meticulous preparation ensures better adhesion of the stain or sealer, extending the life of your fence’s finish.
Step-by-Step Guide to Fence Staining and Sealing
Step-by-Step Guide to Fence Staining and Sealing
1. Preparation: Begin by cleaning your wooden fence thoroughly. Remove any debris, loose paint, or stains using a pressure washer or brush. Sand the fence gently to smooth out rough surfaces and ensure better adhesion for the stain. Patch up any damaged areas with wood putty and allow it to dry completely.
2. Staining: Choose a high-quality outdoor stain suitable for wooden fences. Apply the stain evenly across the entire surface using a brush or roller, following the manufacturer’s instructions on dilution and application methods. Start from the top and work your way down, allowing each coat to dry before applying another. Typically, two to three coats are recommended for optimal protection and color enhancement.
Maintenance Tips for Long-Lasting Fence Protection
Regular maintenance is key to extending the lifespan of your fence and keeping it looking its best. Start by cleaning the fence regularly, especially if it’s in a high-traffic area or has accumulated significant debris. Use a soft brush or garden hose to remove any dirt, dust, or grime, ensuring you follow the manufacturer’s guidelines for cleaning products.
After cleaning, inspect your fence for any signs of damage, such as split boards, loose posts, or peeling paint. Repairs should be addressed promptly to prevent further deterioration. Apply a fresh coat of stain or sealant every few years, depending on factors like exposure to weather and sunlight. This step not only enhances the aesthetic appeal but also creates a protective barrier against elements that can cause wood to rot or fade.